Getting Started
CVM Deployment
Quick start guide for deploying confidential applications on Phala Cloud.
Make sure you have gone through the Sign-up for Cloud Account section before continuing.
Step 1 - Create a CVM
.png)
Create CVM
- Set your application name (e.g. “hello-world”)
-
Paste the config file to describe your service in docker compose format. In this tutorial, we deploy a basic jupyter-notebook without any code change.
%20(1).png)
Docker Compose File
-
Choose the resource plan. There are some preset plans available, or you can customize them for more flexibility. In Node & Image section, we recommend choosing dstack-dev- as guest image if you are deploying for testing. It will enable the debug feature that you can login to the virtual machine in the future.\
%20(1).png)
Compute Resources
-
(Optional) Set Encrypted Secrets. Encrypted Secrets are variables that can be referenced in your docker compose file. It’s end-to-end encrypted between you and the app you deployed. In this guide, we set the environment variable
TOKENtophalafor testing. Later you will use this token to login to the notebook. Note thatTOKENis referenced in thecommandfield in the compose file.
.png)
Encrypted Secrets
-
Click the Deploy button to start the deployment process. You will need to wait for a few minutes as the cloud sets everything up. In the meantime, you can enter the CVM details page by clicking the CVM card, and choose Logs > serial to view the OS log outputs. Note this is the logs of CVM, not your application logs.\
.png)
The CVM is starting
.png)
View CVM serial logs
-
After the deployment is complete, navigate through CVM Details → Network to see the public endpoint of your application.\
.png)
App Endpoints
-
You can use these endpoints to access the application if you have service serve on. You will find the endpoint is composed of App ID and Port. In this example:
- Endpoint:
https://1e598a2f983dd80c413627e0b50d91905f3f48be-8080.dstack-prod2.phala.network - It contains the following components:
App ID:1e598a2f983dd80c413627e0b50d91905f3f48bePort:8080Gateway Domain:dstack-prod2.phala.network
- The reason why we have a port number 8080 here is that the default port of jupyter notebook is 8888, but we configure the port mapping to 8080 in the docker compose file. You can check the docker compose file in Compose File tab and you will find 8080:8888 in the Compose File content.
- Endpoint:
-
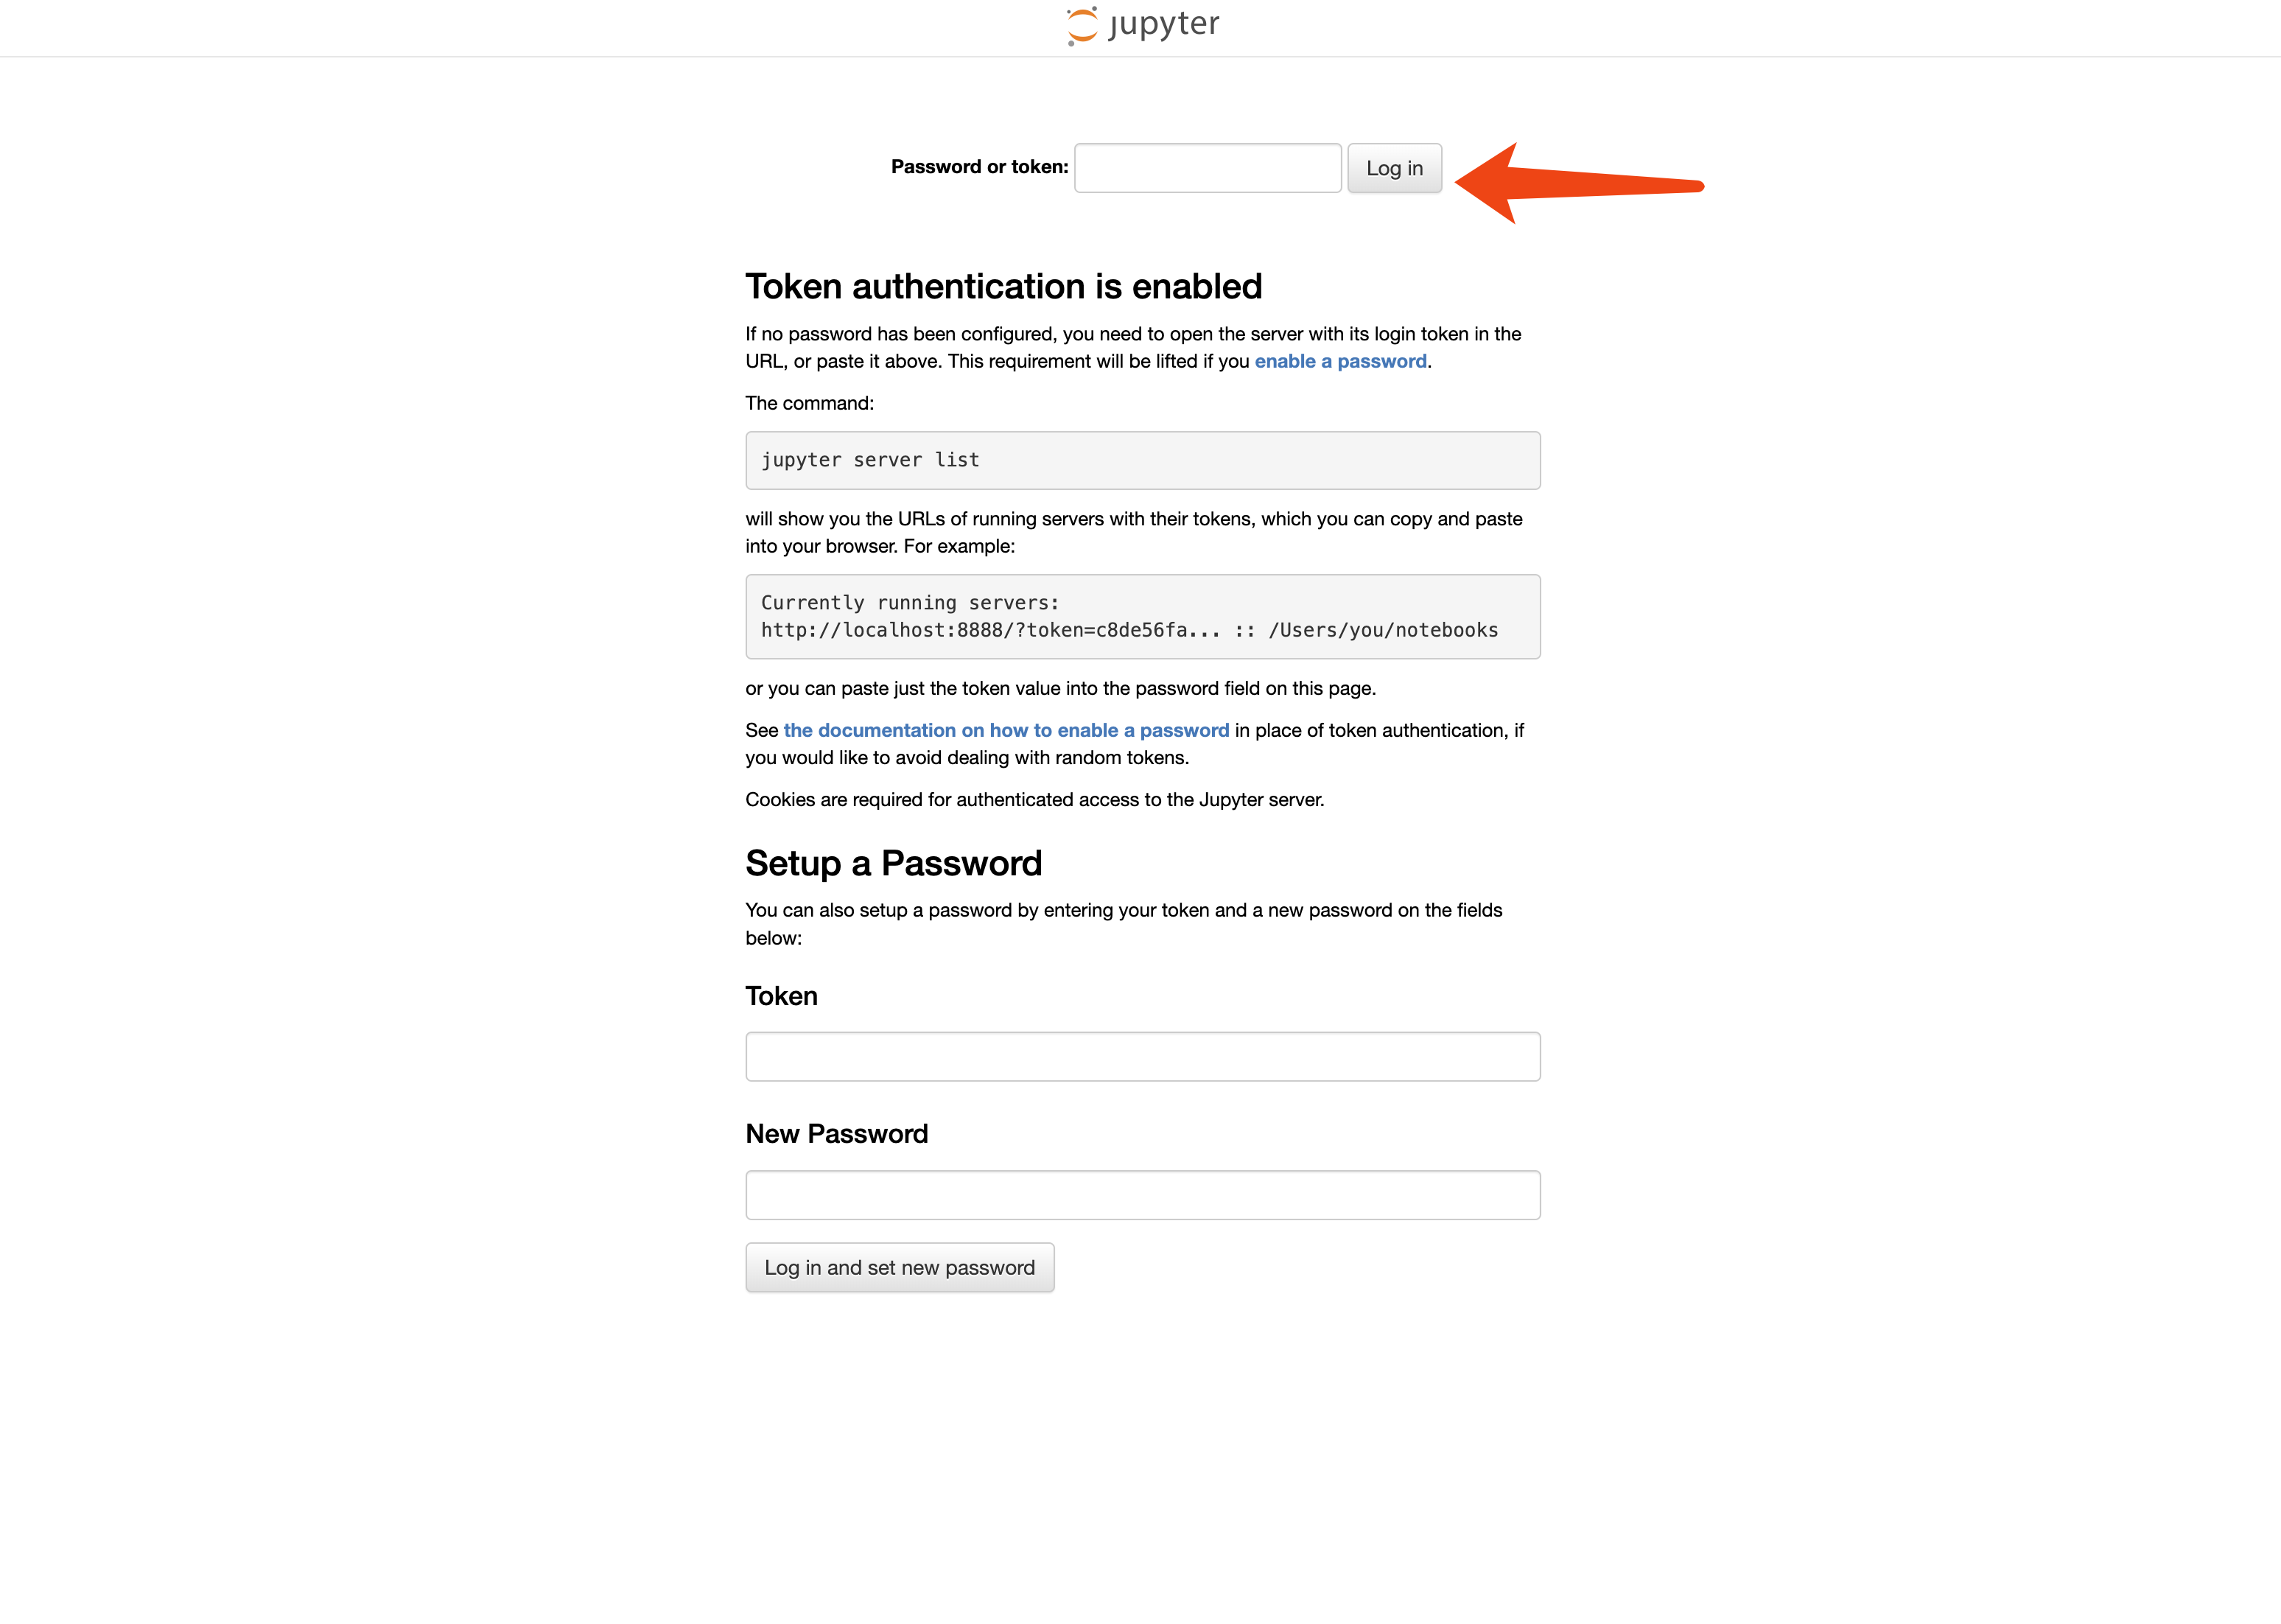
Access the endpoint. You will see the jupyter notebook interface. Type the token you set in the previous step and you will be able to access the jupyter notebook.

Access your app
-
View the logs of your application. You can switch to Containers tab and click View Logs to view container logs.
.png)
Step2 - Verify TEE Proof
-
Check the default RA Report. We provide a default Remote Attestation Report (also known as TEE Proof), which is displayed in the CVM detailed page. To view the entire report, click View Details → Attestations.\
.png)
Attestations
-
By clicking the Check Attestation button in the certificate chain section, you will be redirected to the TEE Proof Explorer, where you can verify the quote. You can share this quote with anyone, as it serves as proof that your program is running inside a genuine TEE.\
You can also request customized Remote Attestation reports programmably via API here: generate-ra-report.md.
.png)
Check Attestation
Next Steps
Now that you’ve deployed your first confidential application, you can:- Deploy your existing Docker applications to TEE - check out Phala Cloud User Guides
- Build an AI agent in minutes and deploy in one-click with the Eliza Agent Builder - check out the tutorial to get started
- Explore advanced features like debugging, log management, and scaling your applications

